Sitting in my condo on a cold New England winter morning in a pair of frayed black sweatpants and t-shirt, a mug of freshly brewed coffee warming my hands, an image danced across my mind.
I closed my eyes and peered closer, allowing the idea to fill my head.
Like the lens of a camera focusing on its subject, the details of the image sharpened in my mind.
Before it had time to flitter away, I grabbed the nearest notebook and a pen and quickly sketched out the idea on a blank piece of paper.
It wasn’t a particularly good drawing, but it got the point across. After struggling to find the motivation or creative energy, I now knew would I would make in the metalsmithing studio the next day.
For the longest time when people asked me how I came up with my jewelry ideas, I really had no clue. I didn’t have a real process, I just created. I would go to bead shops and pick out ones that caught my attention and then would try to make pieces around them.
As my skills as a jewelry designer and style have evolved over the years, so did the process in which I come up with my designs.
The creative design process is deeply personal, and I’m glad to have the opportunity to share mine with you.

For your convenience, this post contains some affiliate links. You can read my full disclosure here.
Step 1: Sketch out the designs
I’m a huge fan of blank journals and almost always carry one around with me. Sprinkled throughout the notebook are sketches of design ideas as they come to me. As soon as I’d think of an idea, I drew it. If I didn’t have a notebook easily accessible, I’d find a scrap of paper to write it down so that I didn’t forget.

My drawing skills are pretty horrendous, but since I knew this was just for me (unless I was sketching out a handcrafted custom jewelry design), I didn’t worry about it looking pretty. The most important think is creating an easy way to remember the ideas later. If I didn’t write it down, there was guarantee that I will remember. (Hello, mom brain!)
Where do I find inspiration?
Inspiration for a specific jewelry design or series often came at unexpected times and place.
Sometimes I’d see another piece of jewelry that gave me an idea for a design. While I never outright copied another designer’s idea, I found inspiration from other pieces of jewelry, both in person and online. In these cases, I used the camera on my phone to take a picture (as long as I was in an appropriate situation to do so) and save it to a notebook in Evernote specifically for design ideas.
Other times a vision would pop into my head and I’d do my best to capture that on paper.
Sometimes was a deliberate exercise in coming up with new designs, but more often the ideas come when I least expected them.
Step 2: Pick a theme
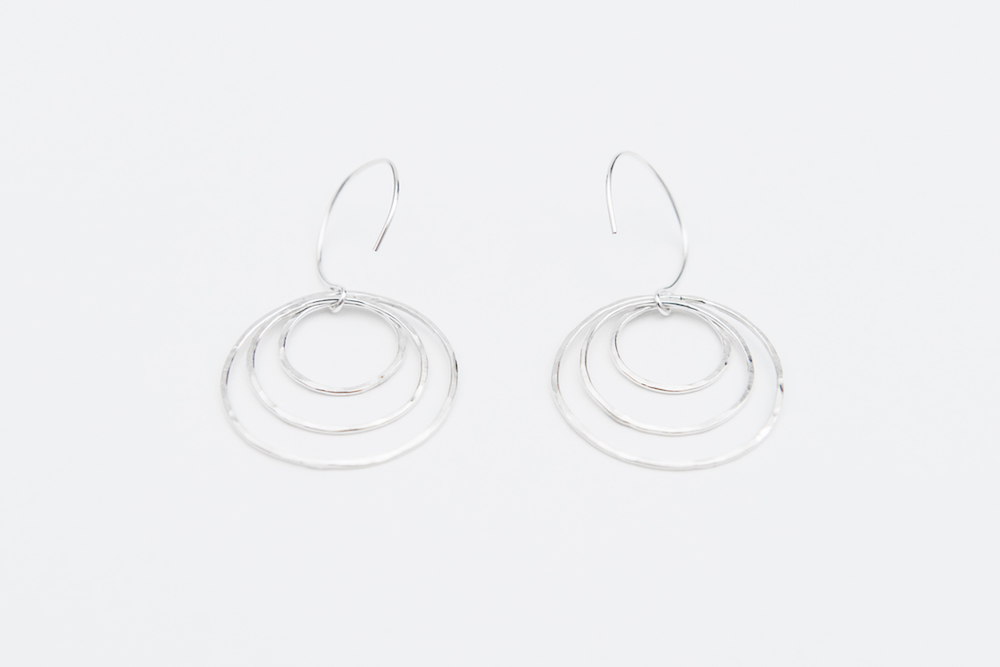
With one of my jewelry lines back when I was selling my handmade jewelry, I started with one idea — a necklace with interconnecting circles.
Over time I expanded the line to include earrings, bracelets, and necklaces that fit around one theme of circles with a delicate hammered texture.

Through years of designing, I found narrowing down on a theme makes the ideas flow more easily than trying to just come up with general jewelry design ideas.
While some may come up with the theme and then sketch out the ideas, this order seems to work best for me.
Step 3: Get excited
A big part of the design process for me is getting myself pumped to make jewelry. I’ve had days where I wasted hours of valuable studio time because I wasn’t in the mood to make jewelry.
When we’re not in the right headspace, then designing likely will not come easily.
It may sound a little woo-woo, but imagining the design process, from the feel of the raw materials and tools in my hand to the smell of the torch melting wire, builds excitement and helps me to get to the right level of motivation to start creating.
Step 4: Acquire the necessary materials
Once I have an idea in my head, I make sure I have the materials and tools on hand to execute my new ideas. On numerous occasions I’ve sat down to start working, only to realize I’m lacking the right gauge wire or my last saw blade snaps as soon as I start to work. It’s incredibly frustrating and puts a damper on the process.

Step 5: Experiment
This was my favorite part of the process — making the ideas come to life!
Once I have collected everything I need, I scheduled a time to work.
Unlike with writing, I preferred to have long stretches of time to work.
I tended to create on days when my I knew I’d have a long interrupted period to work.
(Plus it really helps me get into that zen creative flow mode.)
Sometimes the design process was straightforward. Other times I might experiment with a new metalsmithing technique. Or, if I was working at the local studio, I’d ask the instructor to show me how to do something I didn’t know how to do.
Sometimes the design came out exactly as I had envisioned it the first time I try to make it.

More often, it takes me a few attempts before I’d get it just right.
(And some wasted material. Thankfully I could send in my silver scraps and dust to be recycled.)
Other times, the end result wasn’t quite how I first imagined it would be, but I decided I’m satisfied with the changes.
And occasionally, it just didn’t work at all.
There’d be times where I don’t have the proper torch to execute an idea. Other times the metal got mangled beyond use and I ended up throwing it in with the scrap pile to recycle.
As frustrating as this can be, I learned to accept it to be part of the process. (And was grateful for the ability to recycle metal!)
Step 6: Share it on social media
Usually, I’d share a new design, or part of the process, on my Instagram or Facebook account. I enjoyed receiving feedback from people, drumming up excitement, and seeing if a design is worth pursuing.
When the ideas weren’t coming
We all have periods when we hit a creative slump.
During these times, I learned to channel my energy in a different way, such as through blogging or working on another aspect of my business.
Then I’d often hit a sudden burst of creative energy (such was the case when I was on a 5-hour plane ride from Seattle to Boston) and ideas flooded my brain almost faster than I can put pen to paper.
I tended to have seasons where I find most inspired to design and make new pieces of jewelry, and periods where I didn’t even want to look at my workbench. (Usually in mid-December through January, right after the intensity of the holiday season.) I realized that this was part of the creative process for me, and made sure to give myself a creative break.
No matter what season I was in or the step in the process, I realized having this creative outlet was vital to my overall well-being. Sometimes it’s hard to believe that was how I got to spend my time!
What does your creative process look like?