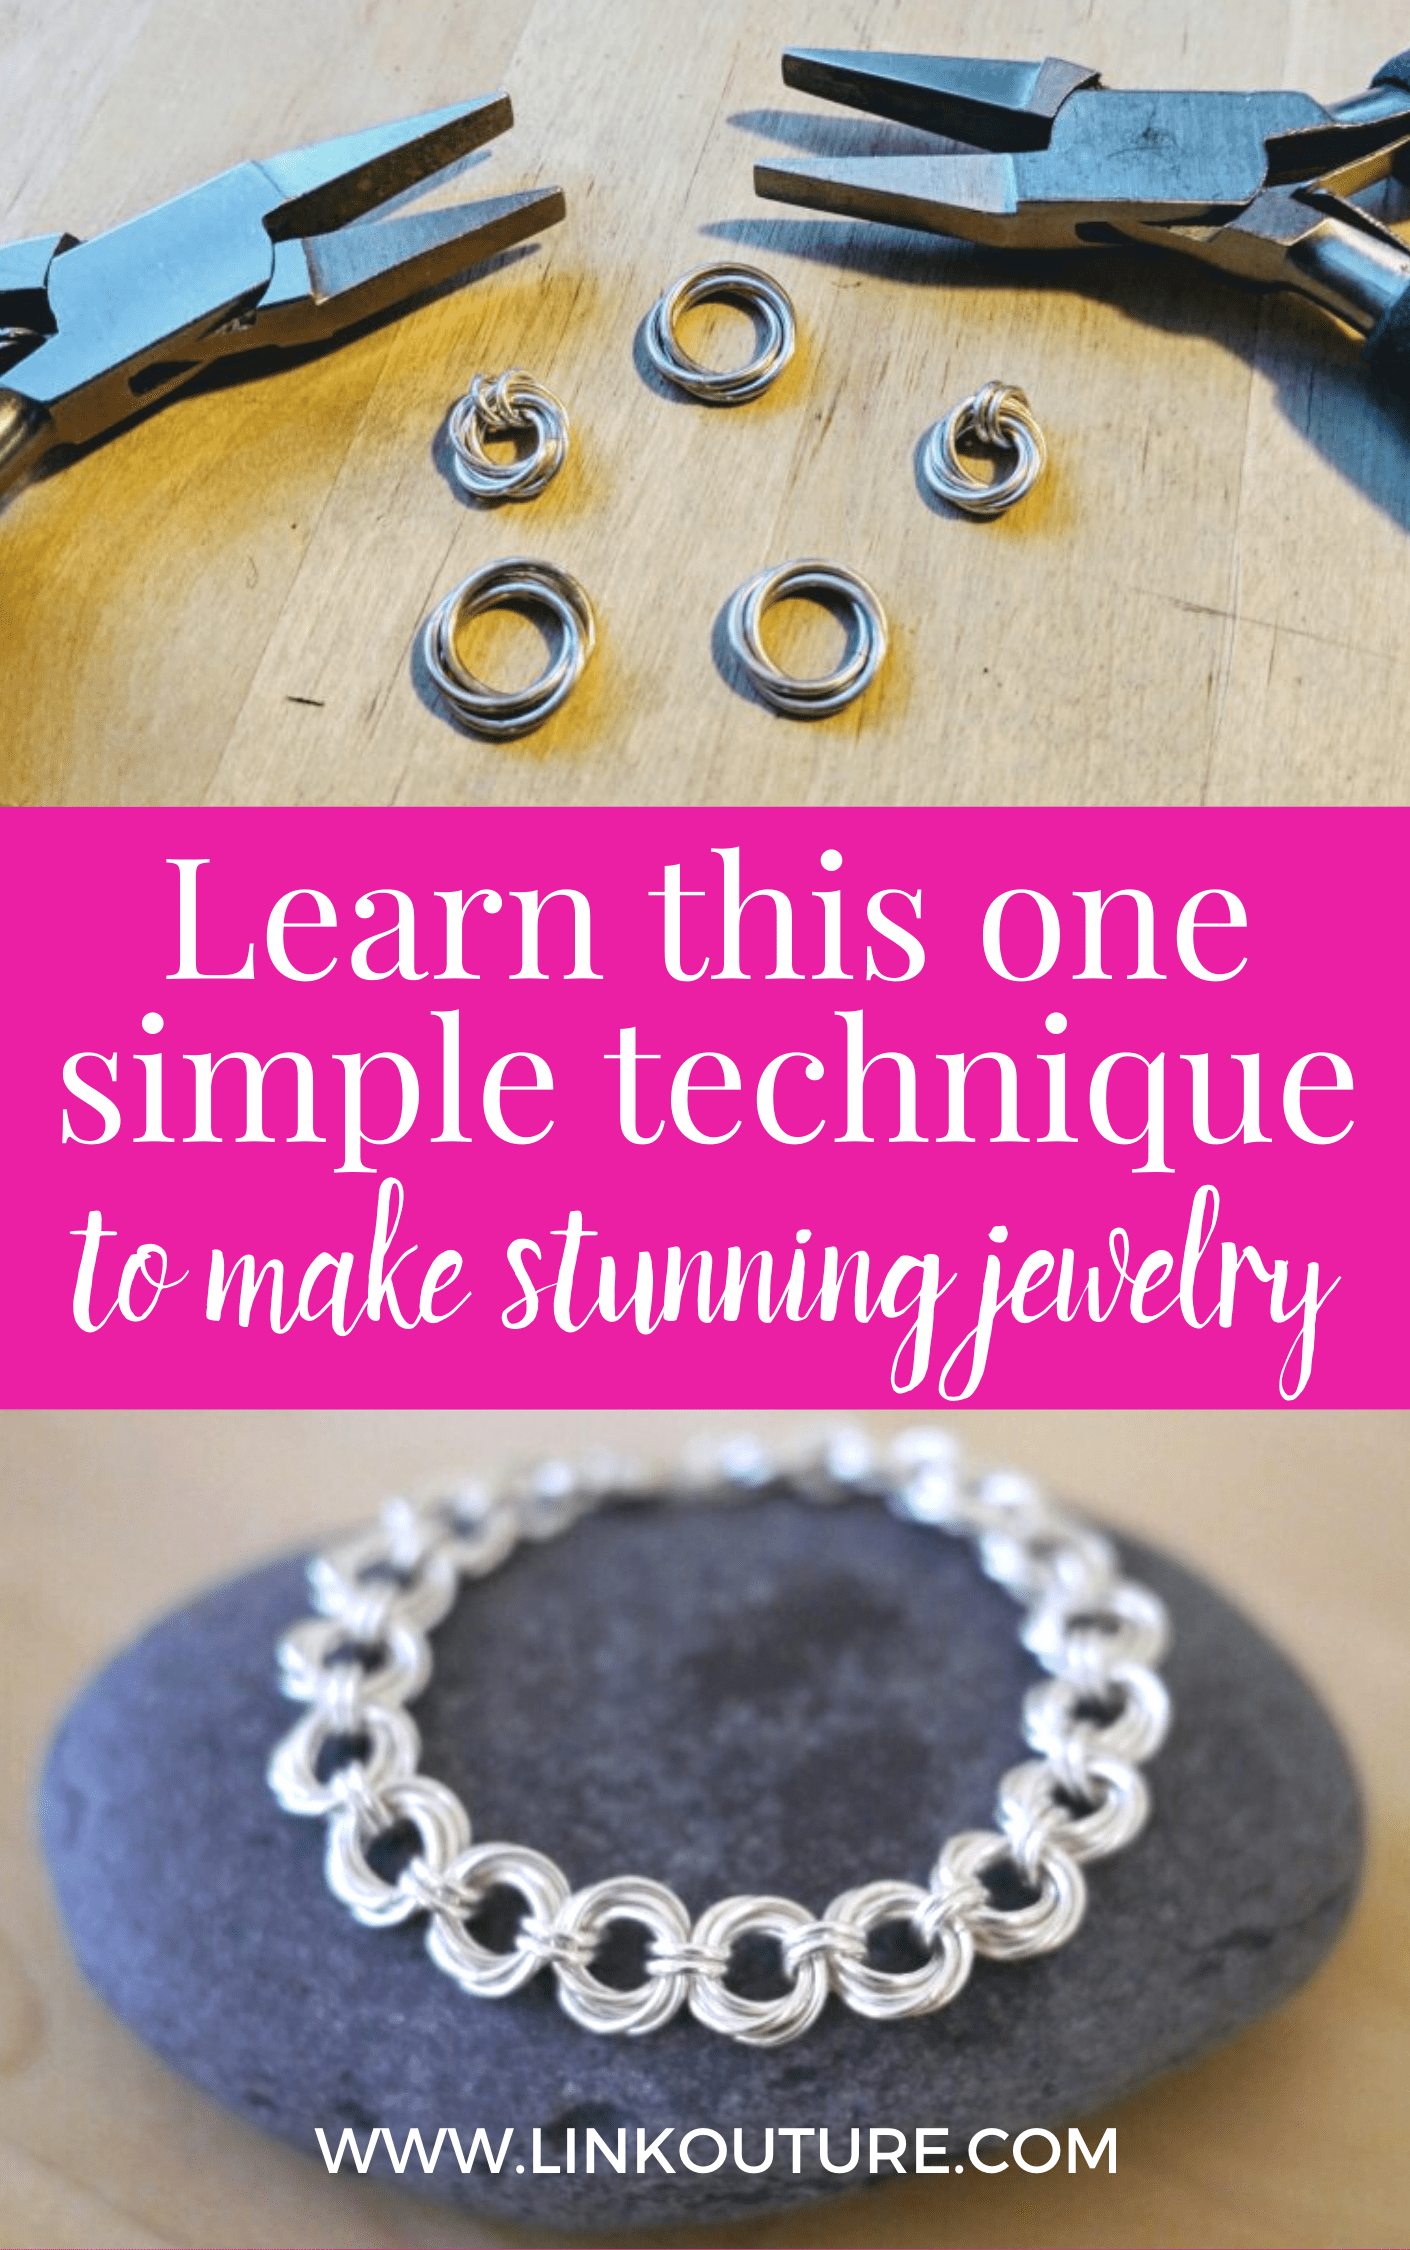
learning how to make make homemade jewelry is all about starting simple – for example, learning the mobius spiral.
You scroll through Pinterest and a DIY jewelry tutorial pops up in your feed. You let out a little sigh as you think to yourself, “I wish I could make that!”
If you think jewelry-making is beyond your reach, I’m going to let you in on something.
Making jewelry is easier than you think!
For your convenience, this post contains affiliate links. You can ready my full disclosure here.
It starts with mastering a few simple techniques and using the right tools.
Like these INCREDIBLE flat nose pliers (but more on that below).

The 3-ring and 5-ring chainmaille Mobius spiral is one of the simplest jewelry techniques you can do, especially if you want to learn how to make jump ring jewelry.
Likes these earrings below. I mean, how gorgeous are they? And they’re basically just two of those spirals put together!

Seriously. if you’re interested in making your own jewelry, this is ones of the easiest places to start.
But don’t let its simplicity fool you.
This Mobius spiral is the foundation of numerous gorgeous pieces of jewelry you will find in other Linkouture jewelry-making tutorials.
Such as these DIY pearl earrings, these fancy earrings, and this popular single pearl necklaces.
Or this beautiful necklace & earring gift set.

It’s also a great way to practice properly opening and closing jump rings before you move onto more complicated pieces.
Looking for a video tutorial of this jewelry-making technique?
Sign up for my FREE video mini-course, Jump Ring Jewels.
Step-by-step directions to make the Mobius spiral
Before we get into this beginner level jewelry tutorial, a few notes:
- When I first started making jewelry I was using the wrong type of pliers and it made everything so much more difficult. Avoid the literal pain I went through! I HIGHLY recommend these flat nose pliers for any of my jewelry tutorials. Keep in mind you will need two pairs of these pliers. Yes, they are pricey, but they are WORTH the investment if you intend to do a lot of jewelry making.
- Some of my favorite jump rings to use for this tutorial are 16 gauge 9-11 mm ID (inner diameter), 18 gauge 7mm ID, and 18 gauge 4.5 mm ID rings.
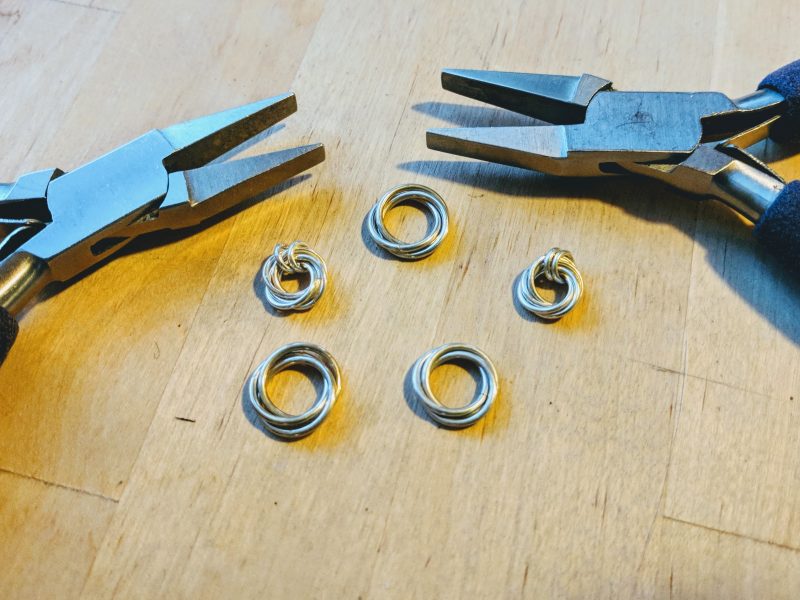
How to make a basic 3-ring and 5-ring chainmaille mobius spiral

This Mobius spiral is the simple technique to learn and the foundation for making numerous gorgeous pieces of jewelry you will find in other Linkouture jewelry-making tutorials,
Materials
- Open jump rings (3-5 of the same size)
Tools
Instructions
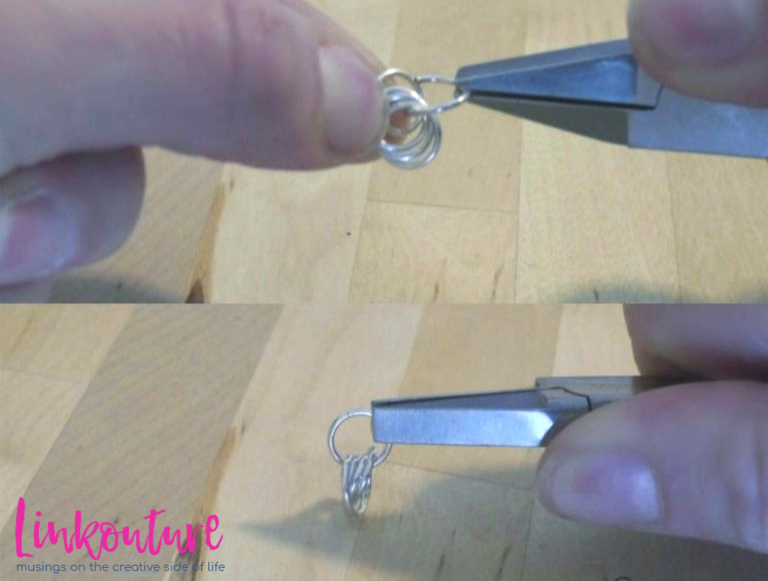
- Close up one of the jump rings nice and firm. (You know it’s closed well when it makes a nice click and the two ends are flush).
- Take a second jump ring and loop it through the first one and close it tight.
- Take the two looped jump rings and hold them so that there is a space between where they overlap. Think of it as you are making a very small Venn diagram with your jump rings. In that space, loop the third jump ring and close it up.

- You’ve made a 3-ring mobius spiral!
- If you would like to make a 5-ring mobius spiral, you’re going to do the same thing again adding a fourth ring, but hold two of the rings together and make a Venn diagram with the third ring. Link the fourth large jump ring through this opening and close it up.

- Hold three of the jump rings together and make a Venn diagram with the fourth jump ring. Link the fifth and last jump ring through that opening close it up.
Notes
- Once you have this technique down, you're ready to get started making a beautiful piece of jewelry, such as these Simple Spiral Earrings.
- Interested in a video of how to do this, plus learn how to open & close jump rings the right way? Check out my free mini video-course, Jump.
Recommended Products
As an Amazon Associate and member of other affiliate programs, I earn from qualifying purchases.

IF YOU found this mobius chainmaille tutorial helpful, CONSIDER LEAVING A TIP!
Leave a here tip if you’d like. They’re not required, but always appreciated 
Jewelry making inspiration delivered right to your inbox
Sign up for the Linkouture newsletter to receive ideas, tutorials, and practical steps for jewelry making e-mailed to you. You’ll also get exclusive access to my FREE mini video course, Jewelry Making Basics.
You are signing up to receive promotional and marketing materials from Linkouture. You may unsubscribe at any time. Check out Linkouture’s privacy policy for details.
More chainmaille tutorials for beginner’s you’ll love!
- Freshwater pearl necklace — This necklace coordinates perfectly with the earrings in this tutorials
- Spiral chain bracelet — This chic bracelet looks really complicated but is basically just a bunch of spirals strung together.
Enjoyed this tutorial? Pin it for later!
Your shares are how this site grows and I’m super grateful for your help! Know a friend who’d like this? Please share it on Facebook or save it to your favorite jewelry-making DIY ideas board on Pinterest.
